I love repurposing old gadgets—especially phones that still have life left in them. When I travel overseas, I usually bring a compact phone dedicated to data-only use as a pocket hotspot. It keeps my main phone free from roaming surprises, extends battery life, and gives me a simple, disposable way to stay connected. Below I’ll walk you through the practical steps I use to turn an old Android phone into a reliable pocket hotspot for international trips, including hardware prep, SIM and eSIM options, settings to tweak, and troubleshooting tips I learned the hard way.
Pick the right phone
Not every old Android is ideal for a pocket hotspot. In my tests, the most important factors are battery health, carrier compatibility, and Wi‑Fi band support.
- Battery life: Aim for a phone with a healthy battery—at least 60–70% of original capacity. Hotspotting drains battery fast.
- LTE bands and unlocked status: Make sure the phone supports common LTE bands for the region you’re visiting and that it’s unlocked. A carrier-locked phone may refuse foreign SIMs.
- Wi‑Fi bands: Phones that can broadcast a 5GHz hotspot are useful for faster local transfers and less interference. If you only have 2.4GHz, it still works but might be slower or more crowded.
- Android version: Recent Android versions are easier to set up and secure, but an older phone can work fine if you take extra care with apps and security.
Choose your data option: local SIM, eSIM, or global eSIM
There are three common ways to get data overseas:
- Local prepaid SIM: Usually the cheapest and best for long stays. Buy at the airport or a local shop. You’ll need a phone unlocked to other carriers.
- Physical travel SIM or data-only SIM: Companies like Three, Vodafone, or Orange offer travel packs in many countries. Convenient if they have a kiosk at arrival.
- eSIM or global travel eSIM: Services like Airalo, Holafly, and Truphone let you buy and install eSIM data plans before you go. Great for phones that support eSIM and remove the need to fiddle with tiny SIM cards.
Which one I pick depends on trip length and convenience. For a week-long trip, an eSIM from Airalo often wins for speed and no SIM swapping. For extended stays or heavy data, a local prepaid SIM is usually cheaper.
SIM prep and physical considerations
If you use a physical SIM, bring a SIM ejector, and carry a cheap SIM adapter set in case the sizes don’t match. Also bring a small clear pouch for backup SIMs and receipts. I also recommend labelling the phone clearly as your “hotspot” so you don’t accidentally remove the SIM during normal use.
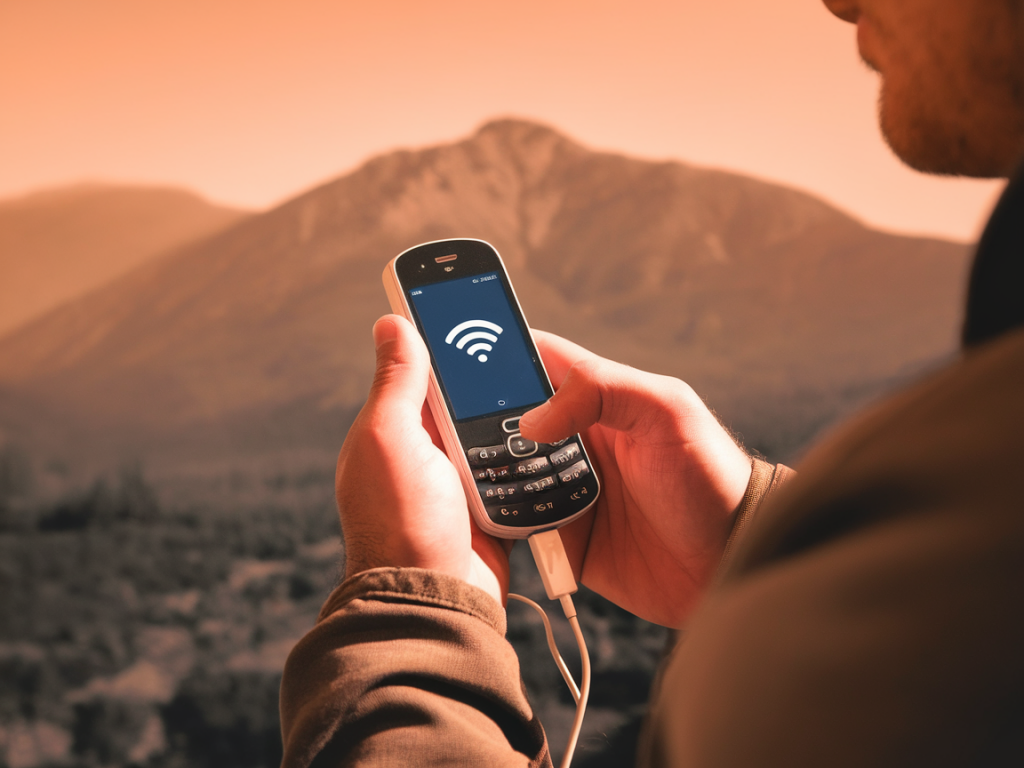
Set up the hotspot properly
Once you have data on the phone, configure the hotspot like this:
- Go to Settings > Network & internet > Hotspot & tethering (path varies by Android skin).
- Tap Wi‑Fi hotspot and set a clear SSID (network name) so you can easily find it. I use something short like “USBZONE-HS” so it’s obvious.
- Set a strong password—WPA2 is standard. Avoid open hotspots.
- Set the hotspot band (if available) to 5GHz for performance, or 2.4GHz for maximum compatibility.
- Limit the number of connected devices (often an option) to 3–5. Fewer devices = more stable connection.
Battery and power management
Hotspotting will chew through battery. I always travel with a compact high-capacity power bank (20,000 mAh for multiple days or 10,000 mAh for lighter use). When setting up the phone:
- Enable battery saver or thermal management but whitelist the hotspot function if your Android allows it.
- Turn off background sync for non-essential apps (email, social feeds) to save data and power.
- Lower screen timeout and reduce brightness to minimum—your hotspot device should mostly be screen-off during use.
- Consider keeping the phone on airplane mode with Wi‑Fi on if you use an eSIM that supports this—note: most hotspots require mobile data, so airplane mode is usually off.
Data management and avoiding surprise charges
Set a data limit on the phone and enable alerts. On Android, you can go to Settings > Network & internet > Mobile network > Data warning & limit and set a reasonable cap. For prepaid or eSIM plans, double-check if tethering is allowed—some carriers block or throttle hotspot usage. If your carrier blocks tethering, options include:
- Use a VPN (some carriers detect tethering via TTL, but VPNs can help hide traffic patterns). I’ve used WireGuard for this when needed.
- Buy a data plan specifically labelled for tethering or “mobile hotspot.”
- Use third-party tethering apps like NetShare for tricky cases, though these are more of a hack and less reliable.
Security: lock it down
Security matters because a roaming hotspot can expose your accounts if someone exploits it. I take these steps every time:
- Use a strong WPA2 password and avoid using an open hotspot.
- Enable device encryption (Settings > Security) if not already on.
- Install a reputable VPN on your devices—I prefer a lightweight WireGuard client for speed.
- Keep hotspot firmware (Android updates) as recent as possible before travel.
Troubleshooting common issues
Here are problems I encounter repeatedly and how I fix them:
- No mobile data: Check APN settings. Some local SIMs need manual APN input—search the carrier’s APN and paste it in Settings > Mobile network > Access Point Names.
- Hotspot visible but devices can’t get internet: Toggle the mobile data off and on, restart the phone, and ensure the SIM has a data allowance left.
- Carrier blocks tethering: Try changing TTL with a simple app (rootless TTL changer) or use a VPN; better yet, buy a tethering-friendly plan.
- Battery overheating: Reduce load—lower max connected devices, move phone out of direct sun, and use a ventilated case or no case.
Optional: dedicated travel router vs phone hotspot
If you plan to connect many devices or want a more robust setup, consider a pocket travel router like the TP-Link TL-WR902 or GL.iNet Mango. These devices take a SIM or connect to a phone’s USB tethering and broadcast a stable Wi‑Fi network with advanced controls. I bring one when I need a hotel-room LAN or want to share a single wired connection safely.
Quick checklist before you fly
- Test the hotspot at home and verify APN and data access.
- Charge battery to 100% and bring a 10-20k mAh power bank + short USB-A/USB-C cable.
- Save PIN, APN settings, and eSIM QR code (screenshot) offline.
- Label the device and SIM, and pack a SIM ejector and adapters.
- Install a VPN and a simple speed-test app so you can check performance at your destination.
| Option | Pros | Cons |
|---|---|---|
| Local prepaid SIM | Cheapest long-term, best speed | Requires unlocked phone, some setup at arrival |
| eSIM (Airalo/Holafly) | Instant setup, no SIM swapping | More expensive per GB, phone must support eSIM |
| Travel router | Stable network, many devices, advanced controls | Extra device to carry and configure |
I travel with a small kit: an unlocked mid-range Android with a fresh battery, a 20,000 mAh power bank, a short USB-C cable, SIM ejector and adapters, and an eSIM backup from Airalo. That combo covers most scenarios without adding bulk. If you want, I can list specific phone models I’ve successfully used as hotspots or walk you through configuring APN and VPN step-by-step for a particular carrier—just tell me the phone model and destination country.