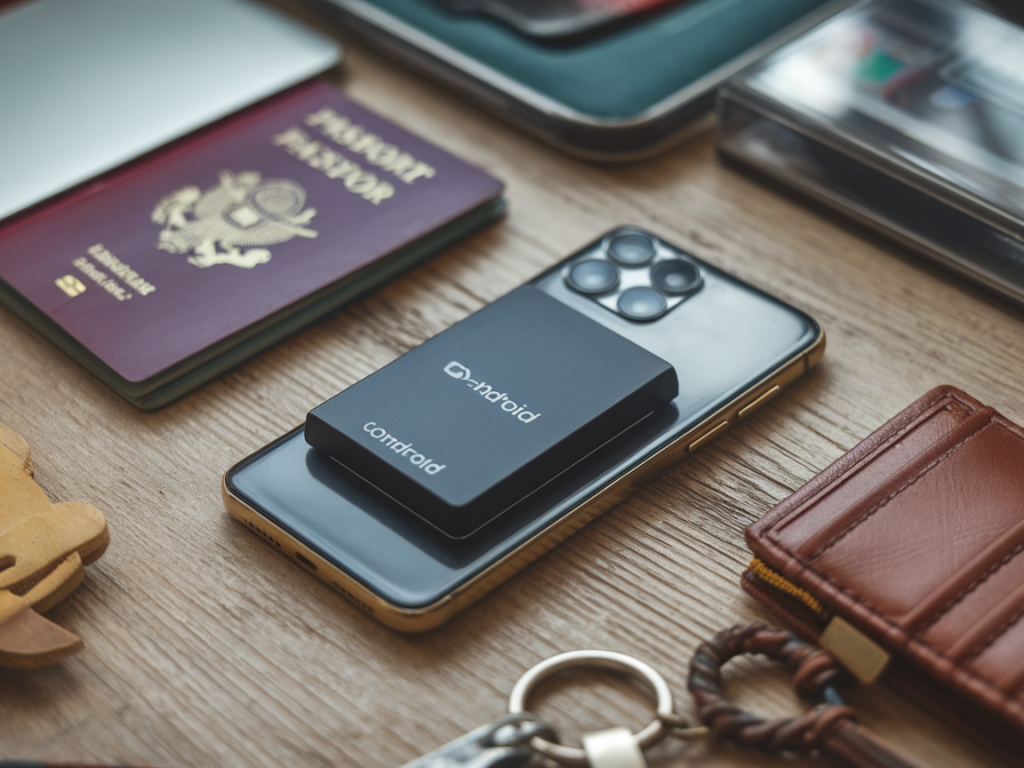
I keep a small travel kit in my backpack: a compact battery, a cheap Android phone that’s no longer my daily driver, and a few cables. Over the years I’ve turned that setup into a stealthy, travel-ready hotspot that gives me private DNS filtering and encrypted traffic over VPN — useful on trains, in hotels, or at cafés where I don’t trust the Wi‑Fi. In this how-to I’ll walk you through the practical steps I use, plus tips on battery life, connectivity, and simple security tweaks so your temporary hotspot is fast, private, and hard to notice.
Why use an old Android as a hotspot?
Repurposing an old Android is cheap, flexible, and keeps your main phone safe. You avoid exposing personal apps and credentials to sketchy networks, you can install network-specific tools, and if something goes wrong you’re only losing a device you already replaced. Many Android phones still get solid Wi‑Fi radio performance even after a couple of years, and tethering support is built-in.
What I pack
Here’s what I carry in the little pouch:
This combo keeps things portable and gives me options: I can run purely via mobile tethering, share a hotel Ethernet, or create a local Wi‑Fi network from the phone.
Step 1 — Prepare the Android device
Start fresh. I factory-reset my spare phone, install only the apps I need, and lock it down:
Tip: Rename the device in its settings (e.g., “TravelHotspot”) so you can identify it when you connect cables or manage it remotely.
Step 2 — Choose your VPN and DNS setup
I use a two-layer approach: a VPN to encrypt traffic and a DNS resolver that supports privacy (DoH/DoT) to block trackers and unwanted content before it resolves. This combination keeps DNS leaks from exposing what domains I visit.
Important: Enable "Always-on VPN" and toggle "Block connections without VPN" (settings vary by Android version). That ensures apps can’t bypass the tunnel and prevents DNS leaks when the VPN disconnects.
Step 3 — Create the hotspot
I usually create a password-protected Wi‑Fi hotspot from the Android device and let the battery power it. Steps:
If you want better performance, some small travel routers (GL.iNet or Netgear Nighthawk M1 series) can be used with the phone via USB tethering or as a middleman for Ethernet. I bring a tiny GL.iNet router on longer trips — it gives more control and often better Wi‑Fi range.
Step 4 — Power management with a compact battery
Batteries matter. I prefer USB-C PD power banks with passthrough charging so the phone can be charged while the battery itself charges from an outlet. Look for these features:
During testing I’ve found hotspots drain older phones faster than typical use — Wi‑Fi radio + VPN + NAT work is CPU-heavy. Expect 6–12 hours of continuous hotspot from a well-maintained phone and a 10,000 mAh battery; a 20,000 mAh pack can double that.
Step 5 — Test privacy settings and DNS leaks
Before you rely on this setup in public, test it locally:
If you run NextDNS or uBlock Origin via the browser, test that trackers and ads are being blocked. Small misconfigurations can leak DNS or bypass filters, so don’t skip this step.
Practical tips and trade-offs I’ve learned
| Component | What I use | Why |
|---|---|---|
| Spare Android | Poco X3 / Pixel 4a | Good Wi‑Fi radios, stable updates for privacy |
| Battery | Anker PowerCore 10000 PD | Compact, PD passthrough, reliable |
| VPN | Mullvad / Proton VPN | WireGuard support, strong privacy stance |
| DNS | NextDNS / Cloudflare | DoH/DoT support, customizable filters |
| Travel router (optional) | GL.iNet GL-AR750 | Small, configurable, USB-powered |
If you want, I can create a printable checklist or a one-page configuration guide with exact settings for a given Android model and VPN provider. I use this setup a lot when I’m testing compact devices for Usbzone Co — it’s simple to pack, hard to break, and keeps my online footprint minimal while I’m on the move.