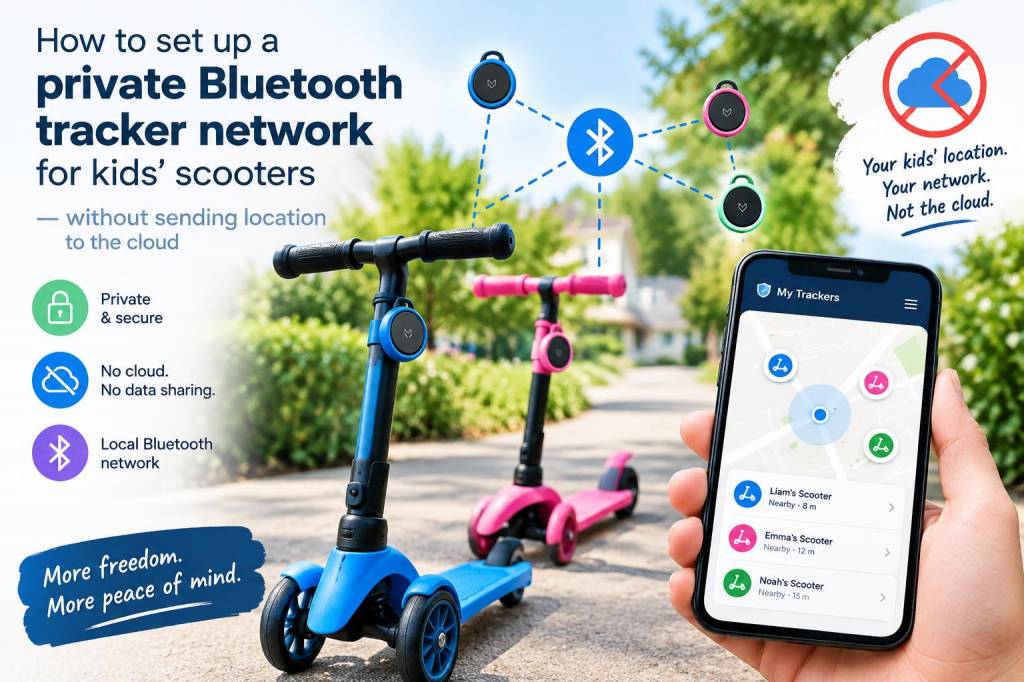
I’ve set up a private Bluetooth tracker network for a couple of scooters in my family, and I’ll walk you through a practical, privacy-first approach that keeps location data off any third‑party cloud. This is about presence and proximity (is the scooter near mom’s gate?), not precise mapping like Find My — and that’s exactly the privacy win: you control the devices, the scanner(s), and the database.
What this setup does (and what it doesn’t)
This network detects small BLE beacons attached to scooters and reports presence or approximate distance to locally hosted software (Home Assistant, Node‑RED or a minimal web UI). It keeps all data on a local Raspberry Pi / local server and uses MQTT or a local database. It does not send location to cloud services, and it avoids vendor cloud lock‑in.
It does not provide highly accurate GPS-style tracking — Bluetooth range and RSSI-based distance estimates are inherently coarse. If you need true GPS tracking, you’d need GPS trackers (and then you must manage cellular/cloud privacy separately).
Why choose a private BLE network
Privacy: no vendor collects continuous location history.Cost: small BLE beacons and a local Pi are cheaper than cellular trackers and data plans.Battery life: purpose‑built BLE beacons can last months to years depending on advertising rate.Control: you decide retention, alerts, and who can access the UI.What you need (hardware and software)
Here’s a starter parts list that worked for me — adaptable to what’s available locally.
| Raspberry Pi | Pi Zero W or Pi 4 (Pi Zero W works fine for 1–3 gateways) |
| BLE Beacons / Trackers | Small BLE beacons based on Nordic nRF52 chips, or DIY devices (ESP32 with BLE advertising is possible but larger). Examples: Blue Maestro, Minew E8, or nRF52832/52840 based tags you can flash yourself. |
| Power | Battery cells for beacons (CR2477/CR2032 depending on tag) and standard Pi power supply |
| Optional | Extra Pi(s) as additional gateways to triangulate by RSSI |
Choosing the right tracker
Many consumer trackers (Tile, AirTag) are tied to cloud ecosystems and background privacy features, which often send identifiers to Apple/Tile servers. For a local-first setup pick beacons that:
Broadcast an identifiable advertisement that you can map locally (either a static MAC or a stable custom UUID)Allow you to configure advertising interval/power to balance battery and detection responsivenessOptionally let you flash custom firmware (nRF52 tags) if you want full controlIf you like off‑the‑shelf simplicity, Minew and Kontakt IoT-style beacons often provide local advertising without enforced cloud. If you’re comfortable soldering/flashing, an nRF52840 dongle or small PCB with custom firmware gives you maximum privacy and control.
Overall architecture (simple)
BLE beacons attached to scooters send periodic BLE advertisements.One or more Raspberry Pi gateways scan nearby BLE adverts (BlueZ + a Python script or Home Assistant).Gateway publishes detection events to a local MQTT broker or writes to a local database.Local dashboard (Home Assistant, Node‑RED dashboard, or a small web app) shows presence and triggers alerts (push to local phone via Home Assistant, or SMS through your own gateway).Step-by-step setup
1) Prepare your Raspberry Pi
Install Raspberry Pi OS (Lite is fine) and ensure Wi‑Fi/Ethernet is set up.Install BlueZ and bluetoothctl (usually preinstalled). Update packages: apt update && apt upgrade.2) Install a local MQTT broker or Home Assistant
For a minimal setup: install Mosquitto MQTT as your private message bus.For a more polished UI and automations: install Home Assistant (supervised or Home Assistant OS). Home Assistant has built-in Bluetooth integrations and entity/state handling.3) Set up BLE scanning
Option A — Home Assistant: enable the Bluetooth integration and let it create entities for beacons (you might need the “Bluetooth Low Energy Monitor” custom integration for RAW adv packets).Option B — Custom script: use Python + bleak or python‑bluezero to scan adverts. Parse advertisement payloads (UUID, major/minor, RSSI) and publish detections to MQTT.Basic Python idea (conceptual):
Scan for advertisementsFilter by known MACs or UUIDsPublish JSON to mqtt/local/topic with fields: id, rssi, timestamp, gateway_id4) Map IDs to scooters and users
In Home Assistant or your DB, assign a friendly name to each beacon (e.g. scooter‑emma) and a small icon.Do not store personal info in the beacon payload — keep mapping in your local service only.5) Use presence rules and alerts
Example automations: notify when scooter leaves the yard (RSSI drops below threshold), or if scooter has not been seen for 30 minutes.For multi‑gateway setups: compute rough location by comparing RSSI from multiple gateways and pick the gateway with the strongest signal as the approximate location.Privacy and security tips
Keep everything local: disable any “cloud upload” options in your gateway software and block outbound traffic from the Pi using a simple firewall rule if you want absolute assurance.Run a local MQTT broker with username/password and TLS if you access it remotely. Better: don’t expose it. Use a VPN for remote access instead of opening ports.Minimize personally identifiable info: store only friendly names and hashed IDs; don’t embed a child’s name into the beacon payload.Rotate beacons only if you understand the tradeoff: randomizing MACs improves general privacy but makes persistent identification harder. For a family network you’ll usually want stable IDs so the system recognizes each scooter consistently.Troubleshooting and practical notes
False negatives happen — BLE can be blocked by metal or be interrupted in crowds. If a scooter disappears briefly, rely on timing windows rather than instant alarms.RSSI is noisy. Use smoothing (moving average) before deciding “gone” vs “present.”Battery life: increasing advertising interval boosts battery but reduces responsiveness. I use 1–2 second advertise intervals for fast detection during playtime, and 5–10 seconds for all‑day battery conservation.Range: most cheap beacons reliably reach 10–30 meters outdoors. Indoors, walls and metal parts of scooters reduce range.Example quick automation ideas
Send a local push via Home Assistant when scooter leaves defined RSSI area.Log “last seen” times to a local SQLite DB and show a small timeline in the dashboard for parents.Combine with local smart‑plug on scooter charger to notify when scooter is charging and also present — useful for knowing it’s ready.Going private doesn’t mean it has to be complicated. For me the sweet spot was a single Pi running Home Assistant, two inexpensive nRF52 beacons, and a couple of simple presence automations. No external cloud, no tracking by vendors, and a system that’s fast to set up and easy to maintain. If you want, I can share a starter Python scanner script or a Home Assistant configuration snippet to get you going.