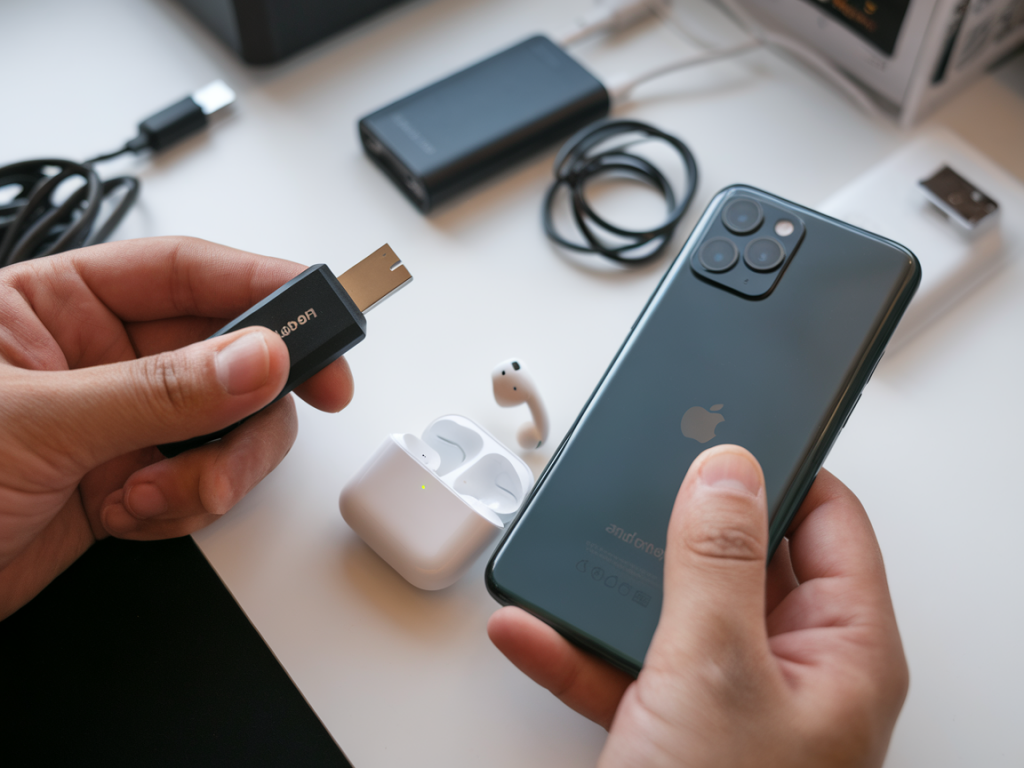
I’ve bricked a pair of cheap true wireless earbuds more times than I care to admit — usually by interrupting a firmware update or experimenting with unofficial mods. A lot of the “dead” buds can be resurrected with the right tools and a bit of patience. In this guide I’ll walk you through how I unbrick cheap TWS earbuds using a USB‑C flasher cable and a spare Android phone. This isn’t magic, but it is fiddly: follow the steps carefully and read the troubleshooting tips if something doesn’t go to plan.
What “bricked” usually means for TWS earbuds
When I say “bricked”, I’m describing earbuds that no longer pair, don’t enter pairing mode, won’t power on, or show only a red LED with no response. Common causes:
Interrupted firmware updateCorrupted firmware from unofficial flashingBattery management or charging IC stuck in a safe stateSoftware bug that prevents Bluetooth stack from bootingHardware failures (dead batteries, broken traces) are possible, but many software-related bricks can be fixed by re-flashing the firmware directly to the earbud SoC.
What you need (hardware and software)
Here’s what I usually gather before attempting a recovery. I keep a small toolkit for these repairs — nothing expensive.
USB‑C flasher cable (aka “USB to UART/OTG flasher” cable). These cheaply available cables expose the earbud SoC via OTG when you insert the bud into the cable’s connector. Common names include “USB Type-C earphone flasher” or “USB‑C headset flash cable”.Spare Android phone with OTG support — I use an old midrange phone. It must allow ADB over USB and install unknown APKs.Firmware file for your earbuds. This is the trickiest part: official files, community dumps, or firmware inside firmware update apps (APK/ZIP). You’ll need the correct firmware for the SoC (Realtek, JL, BES, etc.) and model.Flashing app — examples: FlashTool variants for Realtek, “BSP” tools for JL/BES, or community apps like “Mibox” or “EarbudFlasher” depending on chipset. Many are Android APKs designed to run over OTG/USB‑C flasher cables.Small electronics toolkit (plastic spudger, tweezers, magnifier) — optional but useful for inspecting contacts or opening the stem if needed.Safety note: only attempt this on inexpensive or out-of-warranty buds. If you’re unsure about the hardware identity or can’t find firmware, don’t proceed.
Identify the SoC and firmware
Before anything, try to identify the SoC. I start with these quick checks:
Search the exact model number printed on the case or charging cradle.Look for firmware update APKs on the vendor’s site or in the Play Store. Extract the APK (rename to .zip) and inspect the contents — sometimes the firmware binary is included.Check community forums (XDA, Github, Reddit r/truewireless or r/headphones) — many users share firmware dumps and the correct flashing app.Common chip families and where to look:
| Chip family | Common flashing apps / keywords | Notes |
| Realtek (e.g., RTL8763B/RTL8763E) | “Realtek Bluetooth OTA flasher”, “RTKFlash”, APKs with .bin files | Many cheap buds use Realtek; community support is decent |
| JL / JL AC693x | Search “JL AC693x flasher”, “JL8011 flash tool” | Often used in very cheap TWS; firmware naming varies |
| BES / BES2300 | “BES flasher”, “BES OTA tool” | Moderate community tools, sometimes inside vendor APKs |
Prepare the phone and cable
I set my phone up like this:
Enable Developer Options and USB debugging (Settings → About phone → tap Build number, then enable).Allow installation of apps from unknown sources for the browser or file manager I’ll use.Charge both the phone and the earbuds so they don’t die during flashing.Inspect the USB‑C flasher cable: some are symmetrical and accept either earbud. They usually have a small plug or receptacle where the bud plugs in. You may need to buy a few different cheap variants to match your earbud stem shape.
Step-by-step flashing process I use
These are the general steps I follow. Your flashing app will show some of these steps inside its UI — treat them as the underlying flow.
Install the flashing APK on the Android phone (and the firmware binary, if required) into a dedicated folder.Open the flashing app. Most apps have a “select firmware” or “load .bin” option; choose the file you identified earlier.Connect the USB‑C flasher cable to the phone, but don’t plug the earbud yet. Grant any permissions the Android request prompts for (USB device access).Place the earbud in the flasher connector. Depending on the cable, you might need to press the earbud’s internal button (if accessible) or hold the bud in a particular orientation. The app should detect the device. If it doesn’t, try flipping the bud 180°, swap left/right, or try the charging case pins instead of the stem.When the app detects the earbud it will show a serial connection or a “device found” message. Click “Flash” or “Start”. Do not disconnect anything during the process.Wait for the progress bar to reach 100% and for the app to say “Success” or “Done”. Reboot the bud if the app asks, else put it back in the case and try pairing.Tip: If flashing fails halfway, try a different firmware version (older one sometimes more compatible) and double-check you have the correct SoC.
Troubleshooting common failures
If the phone/app doesn’t detect the earbud:
Try different USB‑C flasher cable orientation. These connectors are picky and sometimes only make contact on a specific side.Make sure the earbud stem’s metal contacts align with the cable’s pin contacts. A tiny dab of conductive grease (or simply bending a contact slightly) can help contact, but be careful.Try another Android phone — some phones’ OTG implementation is more forgiving.If flashing starts but fails with errors:
Try a different firmware file (same model family). Community forums often host alternative bins that succeed where the official one failed.Look for a recovery/loader mode firmware — some SoCs have a minimal bootloader image that’s more tolerant when restoring a corrupted device.If the earbud powers but won’t pair after flashing:
Reset the earbuds (common reset sequences: hold both touch sensors for 10–15 seconds, or repeatedly put in/out of case). Each model differs — look for a model-specific reset in the firmware notes or forum threads.Forget the device on your phone and try fresh pairing. Sometimes the Bluetooth address resets in the firmware and pairing caches need clearing.When to stop and seek help
If none of the apps can detect the SoC via the flasher cable, or the buds show signs of hardware damage (no LED, severely corroded contacts), this may be beyond software recovery. That said, community experts on XDA/Reddit are often willing to help if you can share your model, chip ID (if any), and the logs from the flashing app.
Flashing earbuds is a satisfying way to bring a cheap pair back to life, and it’s a useful skill if you’re the kind of person who likes to tinker. I always keep notes on the exact firmware and cable that worked for each model — it saves headaches later. If you tell me your earbud brand and what you’ve tried so far, I can help look for compatible firmware and the right flasher app.