I recently needed a quick way to extend Wi‑Fi to a cramped corner of my flat where streaming and video calls kept failing. What I wanted was something small, unobtrusive, and that could plug into any USB outlet — the kind of pocket-sized mesh node that turns a single Wi‑Fi router into a seamless mesh network. After testing a few options and tinkering with placement and power sources, I put together this hands‑on guide so you can do the same without getting lost in acronyms or complicated network diagrams.
Why choose a pocket mesh node over a traditional extender?
When people ask me whether they should buy a pocket mesh node or a standard Wi‑Fi extender, I always focus on the user experience rather than specs on paper. Mesh nodes are designed to work as part of a single network with one SSID and automatic device handoff. That means your phone won’t get stuck on the router’s weak signal when you walk into another room. Extenders often create a second network name and can introduce latency or dropouts when devices hop between networks.
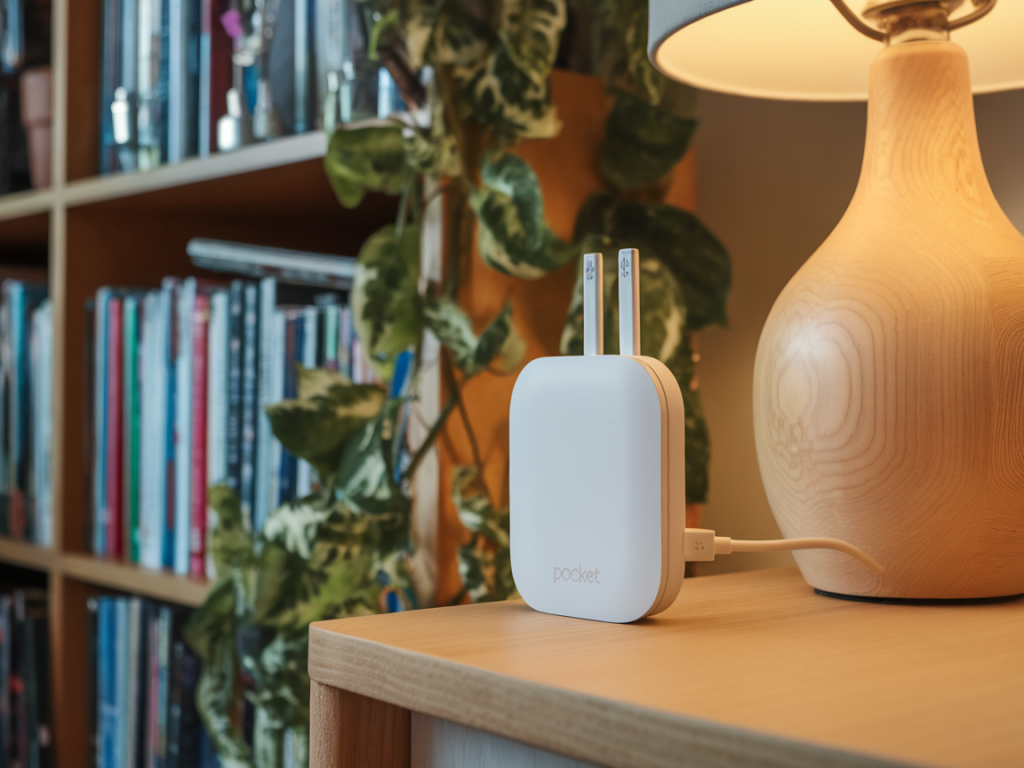
Pocket mesh nodes add an extra benefit: portability. They’re small, often powered by USB‑A or USB‑C, and can be plugged into a wall charger, power bank, computer, or any USB outlet. For small apartments, holiday homes, or travel setups where you need quick coverage without running cables, they’re incredibly handy.
What to look for before you buy
Here are the practical factors I check before recommending or buying a pocket mesh node:
True mesh compatibility: Ensure the node is part of a mesh ecosystem (Deco, Orbi, Asus AiMesh, etc.) and not just a Wi‑Fi repeater. Mesh systems coordinate channel use and handoffs to reduce interference.Power requirements: Most pocket nodes accept 5V USB power. Verify whether they need USB‑A (5W), USB‑C (5–20W), or a specific wall adapter. Some will perform better with a 2A supply than a tiny phone charger.Backhaul options: Check whether the node supports wireless backhaul only or if it can use Ethernet backhaul. Pocket nodes are typically wireless‑only, which is fine for casual use but limits peak throughput.App and setup: Look for an intuitive mobile app. The easier the onboarding, the less fiddling you’ll do with settings.Firmware and security: Choose brands with a record of firmware updates and good security defaults (WPA3 support is a plus).Which pocket mesh nodes are worth considering?
Rather than list every model (they change quickly), here are a few ecosystems and product types I’ve found reliable in practice:
TP‑Link Deco mini/nano nodes: TP‑Link offers compact Deco nodes that are easy to set up via the Deco app. They’re a solid balance of price and usability.Netgear Orbi mini nodes: Orbi devices usually include compact satellites that work well with Orbi routers if you already have one.Asus Lyra or AiMesh dongles: Asus’s mesh options and dongle‑style satellites are stable and packed with routing features.Whatever you pick, make sure the node explicitly supports USB power input if you plan to use it with a power bank or USB wall adapter. Some “mini” satellites still require a 12V barrel jack, which defeats the pocket‑USB convenience.
Step‑by‑step: setting up a pocket mesh node from a USB outlet
Here’s the workflow I use every time I add a node to an existing mesh or start a new compact mesh network.
1. Choose the right power source: Use a stable 5V/2A USB charger or a USB‑C PD supply if the device supports higher input. Avoid low‑power phone chargers that may cause the node to reboot under load. A decent phone charger or a small power bank works fine for testing or temporary setups.2. Place the node before powering it: I plug the node in where I expect to use it — on a shelf, behind a TV, or in a corridor. Placement matters more than power: you want the node within reasonable range of your main router (ideally one to two walls away) and with a clear line of sight if possible.3. Use the vendor app for onboarding: Open the vendor app (Deco, Orbi, Asus Router, etc.). Choose “Add Node” or “Add Satellite.” The app will usually walk you through scanning a QR code or finding the device on the network.4. Let the mesh negotiate channels: Once added, the system will choose channels and configure backhaul. Give it 10–20 minutes to stabilise. During this time, test roaming by walking with a smartphone and running a speedtest app.5. Fine‑tune placement: If speeds are poor, move the node closer to the router in 1–2 metre increments until performance improves. A small table or wall outlet at head height often works best — placing the node on the floor or inside a cabinet will reduce range.Troubleshooting common issues
I've run into these problems more than once; here’s how I usually fix them:
Node keeps disconnecting: Check the USB power source. Swap to a higher‑current USB adapter or a different cable. Low current or poor cables are the most common culprits.Devices won’t roam smoothly: Some devices cling to a weaker AP. Enable band steering and make sure the mesh system is using the same SSID for 2.4GHz and 5GHz. If the problem persists, try turning off 802.11k/v on older clients, or force‑forget and reconnect the client.Slow speeds through the node: Remember that wireless mesh nodes share bandwidth with backhaul traffic. If you need faster speeds, consider moving one node to Ethernet backhaul (if the node supports it), or add a second pocket node to shorten wireless hops.App won’t detect the node: Power‑cycle the node and retry setup. Ensure your phone is on the primary router’s network and Bluetooth is enabled if the app uses it for discovery.Practical tips to get the best results
Use the same SSID and password: That’s the whole point of mesh — one network name means fewer connection hiccups.Avoid USBs behind heavy objects: Don’t hide the node behind a TV or inside a metal cabinet. Even though it’s “pocket” sized, it still needs clear RF space.Mix wired and wireless carefully: If you ever have the option, a wired Ethernet backhaul to a node dramatically improves throughput and reliability. Consider using a small USB‑to‑Ethernet adapter with nodes that support it.Power banks as temporary boosters: For events or travel, a power bank is a neat way to run a pocket node without searching for wall outlets — just watch battery draw and thermal limits.Quick comparison table (practical traits)
| Trait | Pocket mesh node | Traditional extender |
| Single SSID | Yes (mesh) | Sometimes creates separate SSID |
| Power via USB | Often — portable | Rare — usually wall plug |
| Seamless roaming | Better | Often worse |
| Best use | Small apartments, travel, quick coverage | Single dead spots, cheap boosts |
If you want model recommendations for your specific setup (apartment size, router brand, budget), tell me what router you already use, how many rooms you want covered, and whether you can run Ethernet to any node. I’ll suggest pocket‑sized nodes that match your needs and give a quick shopping checklist so you can buy with confidence.