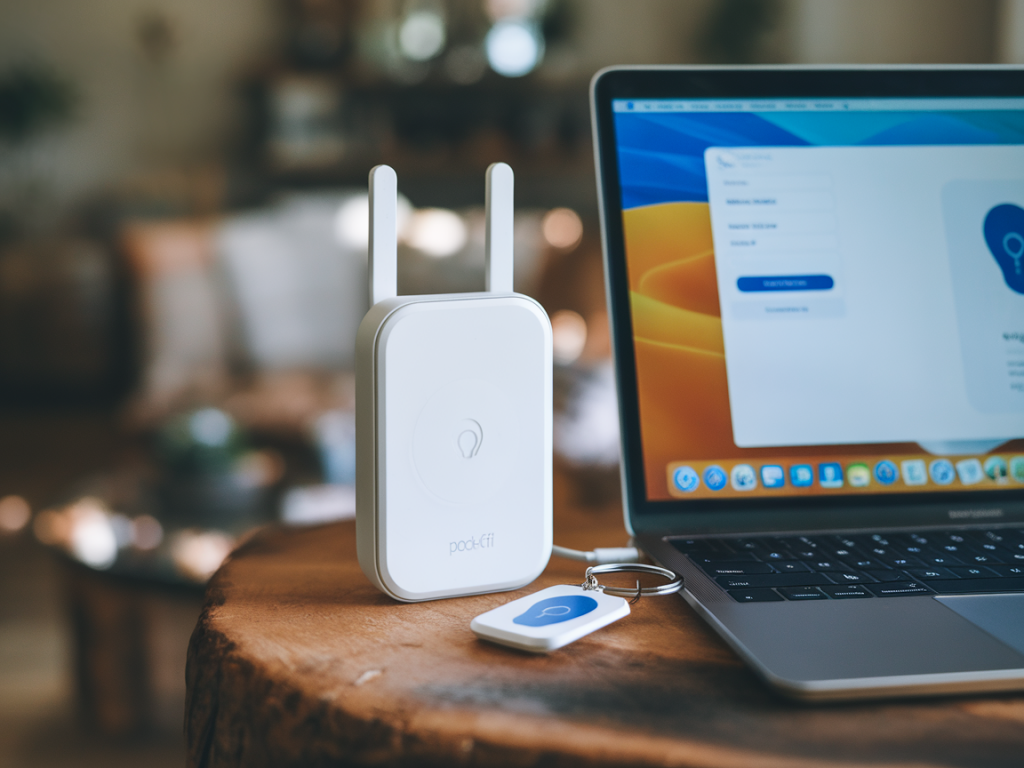
I often get asked how to give short-term rental guests reliable internet without exposing my main home network. My go-to trick is turning a pocket Wi‑Fi repeater (or a small travel router) into a dedicated, secure guest network. It’s compact, cheap, and perfect for hosts who want isolation, easy reset between bookings, and a minimal setup that won’t confuse guests. Below I walk through why this works, what gear I use, and a step‑by‑step guide so you can do the same.
Why use a pocket Wi‑Fi repeater or travel router?
Pocket Wi‑Fi repeaters and travel routers (think TP‑Link RE series, GL.iNet GL‑AR750S, or Netgear Nighthawk M1/M2 in hotspot mode) are tiny, affordable, and designed to bridge or re-broadcast an existing connection. I like them for short‑term rentals because:
They provide network isolation from your LAN — guests stay on their own subnet.They’re portable and easy to factory reset between guests.They often have guest‑friendly features like captive portals, bandwidth limits, and separated SSIDs.You don’t need to reconfigure your main router or open firewall ports.What you’ll need
Here’s a quick checklist of items I use when setting up a guest network solution:
A pocket Wi‑Fi repeater or compact travel router — I recommend models that support router/AP/repeater modes and have a dedicated guest network feature (GL.iNet and TP‑Link have good options).An Ethernet cable (if you can place the device near the main router for a wired backhaul — best performance).Access to your main router’s admin page to ensure DHCP and firewall compatibility.A power source and a discreet place to hide the device (out of sight but with good signal).Basic network design I use
My typical setup separates networks for security and simplicity:
Main network (LAN) — used by my personal devices, NAS, smart home hubs. Strictly private.Guest network (pocket repeater) — gives internet access only. No access to LAN devices.Management interface — I keep the repeater admin reachable from my phone, but locked behind a strong password and, where supported, two‑factor authentication.Step‑by‑step setup (my practical workflow)
These steps assume you’ve bought a pocket Wi‑Fi repeater or travel router that can create its own SSID and isolate clients. If your model supports captive portal or bandwidth throttling, even better.
Unbox and factory reset the device to clear previous settings.Place it initially near your main router and power it on. I always start wired if possible — connect the repeater to the main router via Ethernet for the most reliable backhaul.Log into the device’s admin page (usually printed on a sticker or in the manual). Change the default admin password immediately.Set the device mode to AP or Router depending on the hardware. If you’re using it to re-broadcast the main Wi‑Fi, choose Repeater/Range Extender. If you can wire it, use AP for best performance.Create a dedicated SSID for guests. I use names like Guest_Home_Stay or Welcome_[Property]. Avoid SSIDs that reveal location or owner name.Enable client isolation (also called AP isolation or wireless isolation). This blocks guests from talking to each other and to devices on the repeater’s LAN.Enable the built‑in firewall/NAT. If the device offers a separate guest VLAN, enable it to keep traffic completely separate from your main LAN.Set a strong WPA2/WPA3 password for the guest SSID. For extra convenience, you can create a simple password for guests and rotate it per booking — see automation tips below.If supported, enable captive portal with an acceptance page or simple password entry. This looks polished and lets you present house rules or Wi‑Fi usage policies.Configure bandwidth limits or QoS. I cap guest speeds to preserve upload/download for my devices — something like 30–50 Mbps down per guest works well for light streaming and browsing.Test from a guest device (phone/laptop): join the SSID, confirm you get an IP from the repeater’s DHCP range, and verify you can access the internet but not any local devices like your printer/NAS.Reposition the repeater to maximize coverage for the rental area. Aim for a location halfway between the main router and guest zone if using wireless backhaul.Guest experience tweaks I always apply
Simple SSID and password — avoid long, awkward strings unless you automate distribution. Guests appreciate one‑tap access or a short printable card.Captive portal with essentials — Wi‑Fi password, check‑in/out details, support contact, and basic house rules.Signage — leave a small card with the SSID, password, and a QR code that links to the captive portal or a short web page with instructions. QR codes are especially handy for mobile‑first guests.Security and privacy considerations
Security is my priority when hosting. Here are the settings I never skip:
Change all default admin passwords. If the device supports it, enable two‑factor authentication.Keep firmware updated. Small routers are often targeted because users forget to patch them.Enable client isolation so guests can’t discover or attack other devices on the network.Disable remote admin or restrict it to your IP only. You don’t want the repeater admin page exposed to the public internet.Use HTTPS for the admin interface if available. If not, keep physical access restricted and recheck logs regularly.Automation and workflow between bookings
For frequent turnovers I automate a few tasks:
Rotate the Wi‑Fi password between bookings. Some devices offer scheduled password changes or APIs; otherwise, a manual change takes a minute.Keep a templated check‑in email that includes new credentials and a QR code. I paste the new password into the template each time.Factory reset the device if you suspect misuse or after long stays. That clears any cached data and returns the device to your known baseline.When to choose wired versus wireless backhaul
Wired is always preferable if you can run a discreet Ethernet cable to the repeater. It reduces latency and keeps maximum speed for guests. Use wireless backhaul only when wiring isn’t feasible — then place the repeater where it still gets a strong signal from the main router (one or two bars lost at most).
Quick troubleshooting tips I use
No internet on guest SSID — check the repeater’s WAN status and DHCP server. Reboot both router and repeater.Slow speeds — check whether the repeater is using wireless backhaul; switch to wired if possible. Also look for channel congestion and change the 2.4/5 GHz channels.Guest device can’t see captive portal — clear the browser cache or try an incognito window. Some captive portals need manual navigation to a non‑HTTPS page to trigger; include a direct link on your welcome card.Recommended compact devices (my picks)
| Device | Why I like it |
|---|
| GL.iNet GL‑AR750S | Flexible modes, OpenWrt base for advanced features, captive portal support |
| TP‑Link RE650 / RE300 | Affordable, easy guest network options, decent range |
| Netgear Nighthawk M1 (in hotspot mode) | Excellent mobile broadband support for off‑grid rentals |
If you want, I can tailor a setup plan for your specific property — tell me the size of the rental, whether you can run Ethernet, and which pocket router you own (or plan to buy), and I’ll give a step‑by‑step configuration for that model.