I like setups that disappear into the background. A discreet smart home scene can give you useful automation — a light that comes on when you enter a hallway at night, a fan that kicks in when humidity rises, or a notification if a basement door opens — without filling your shelves with hubs or flashing devices. In this guide I’ll walk you through how I build a small, effective scene using a tiny Zigbee hub (or dongle) and just one sensor. The goal is simple: reliable automation that’s compact, affordable, and easy to hide.
Why a tiny Zigbee hub and one sensor?
Zigbee is great for small, low-power sensors: motion, door/window, temperature, humidity. With a compact hub or USB dongle you get local control, low latency, and less dependency on cloud services. I prefer keeping things minimal — one well-placed sensor and a small hub can automate a single useful routine without overcomplicating things.
Advantages I care about:
What you’ll need
Here’s a short list of the components I use in my minimal setups. I keep things interchangeable so you can pick what fits your budget and privacy comfort level.
Choosing the right hub and sensor
When I pick a hub I think about two things: local control and size. If local control is important, I go with a USB stick (ConBee II or Sonoff Zigbee) and run Zigbee2MQTT or deCONZ on Home Assistant. If I want plug-and-play with an app, I choose an Aqara Hub or a compact SmartThings Hub.
| Hub type | Pros | Cons |
|---|---|---|
| USB dongle (Zigbee2MQTT / deCONZ) | Local control, flexible, wide device support | Requires host (Raspberry Pi), slightly more setup |
| Standalone mini hub (Aqara, SmartThings) | Simple setup, official apps | Cloud dependency for some features |
For sensors, Aqara devices are compact, battery-efficient, and generally reliable. Philips Hue sensors work well if you’re already in the Hue ecosystem. I often choose a motion sensor for single-scene automations because motion covers more use cases.
Step-by-step setup: hardware
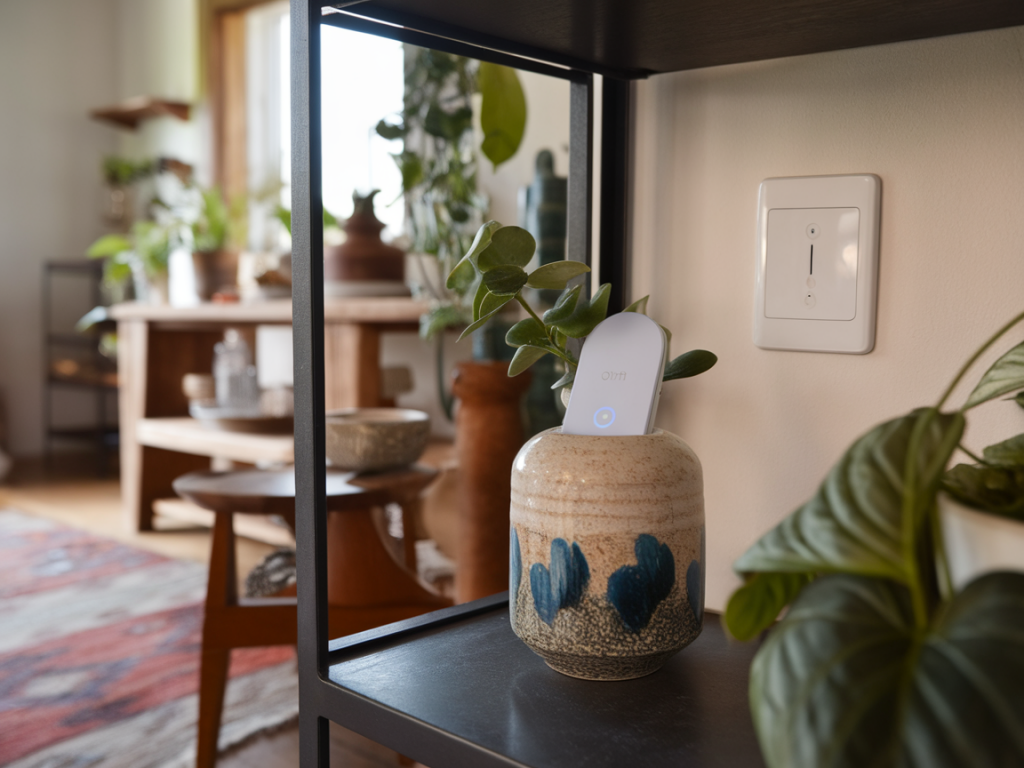
Here’s how I physically set things up. I aim to hide the hub or dongle while keeping the antenna unobstructed for range.
Step-by-step setup: software and pairing
My preferred stack is Home Assistant with Zigbee2MQTT, but I’ll explain steps that apply broadly.
Create the discreet scene (example: hallway night light)
I like a scene that’s useful and unobtrusive: motion in the hallway after dark turns on a low-level night light (nesting a soft LED or a Hue bulb set to warm 10%). Here’s my automation in plain terms:
In Home Assistant I build this using the Automation editor: pick the motion sensor as the trigger, use a numeric state or light sensor for the condition (or simple time condition), and set the action to control the light entity. If you use the Aqara app or SmartThings, similar rule builders exist.
Placement and tuning tips
Placement determines reliability more than anything else. A few things I learned the hard way:
Privacy and security
I prioritize local control: if you want privacy, choose a local stack (Home Assistant + Zigbee2MQTT) and avoid cloud-only hubs. Keep your host updated, use a strong password, and isolate your smart home host on a separate VLAN if you can. For devices that support it, disable any optional cloud features you don’t use.
Troubleshooting quicks
Once everything is running I spend a few nights fine-tuning sensitivity and timeout values so the scene feels natural. A single motion sensor and a tiny Zigbee hub can provide surprising convenience while staying nearly invisible — and that’s exactly how I like my smart home: useful without being loud.