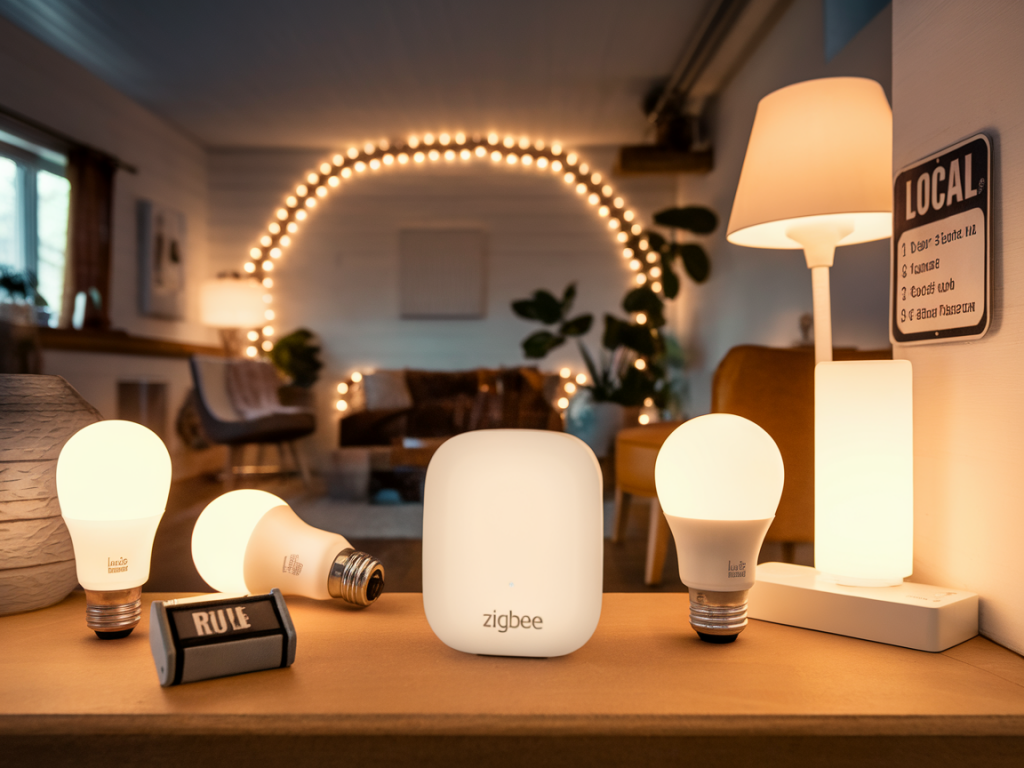
I like small things that quietly do the heavy lifting — a tiny hub tucked behind a TV, a USB stick that turns dumb bulbs into a private, offline lighting system. I built an off-grid smart lighting scene that runs entirely on a pocket-sized Zigbee hub and local rules. No cloud, no monthly fees, and it still reacts instantly when I walk into the room. If you want the same — a private, resilient setup that works without the internet — here’s what I learned and how I’d build it step by step.
Why go off-grid with Zigbee?
Zigbee is perfect for local, low-power smart lighting: devices are inexpensive, many mains-powered bulbs and plugs act as routers to strengthen a mesh, and a USB coordinator can run on tiny hardware. Going off-grid (no internet) reduces privacy exposure, removes cloud dependence, and keeps latency low. The trade-off is a bit more DIY work: you’ll run local software for automation and handle backups yourself. For me, that trade-off is worth the control.
What you’ll need
Here’s a compact kit that works well and fits into a backpack.
| Coordinator (tiny hub) | ConBee II, Sonoff ZBDongle-P (CC2652P), or Z-Stack/CC2652R USB stick |
| Host device | Raspberry Pi Zero 2 W or Raspberry Pi 4 (small, energy-efficient) |
| Software | Zigbee2MQTT or deCONZ (for ConBee), plus Node-RED or Home Assistant for local rules |
| Lights | Zigbee bulbs (I use Sengled, IKEA TRÅDFRI and some Hue bulbs) or Zigbee smart plugs |
| UPS / battery backup | Small USB power bank or Pi UPS HAT (keeps hub working during short outages) |
I chose a Sonoff ZBDongle-P for coordinator (CC2652P) because it’s small, inexpensive and supports many devices. It pairs well with Raspberry Pi Zero 2 W; the whole system draws only a few watts.
Core concepts before you start
Coordinator vs routers vs endpoints: The USB stick is the coordinator. Mains devices (bulbs, plugs) often act as routers and strengthen the mesh. Battery devices (sensors, remotes) are endpoints and need good proximity to routers.Local rules: You can run automations entirely locally using Node-RED or Home Assistant Core. Zigbee2MQTT + Node-RED is a light, modular combo that avoids cloud completely.Channel selection: Zigbee uses 2.4GHz; avoid Wi‑Fi overlap. Pick Zigbee channel 15, 20 or 25 to minimize interference.Step-by-step: build the hub and scene
Here’s the workflow I followed. It worked reliably and was easy to replicate on a second Pi when I expanded to another room.
1. Prepare the host: Flash Raspberry Pi OS Lite (headless) onto an SD card. Set up SSH. I prefer the Lite image for minimal overhead. Connect the Pi to a small power bank during initial tests so it’s portable.2. Plug in the Zigbee USB stick: Use a short USB extender if you want the stick away from Pi interference. Confirm the OS recognises it (ls /dev/tty* — usually /dev/ttyACM0 or /dev/ttyUSB0).3. Install Zigbee2MQTT (or deCONZ): Follow the official Zigbee2MQTT guide. It runs as a systemd service and exposes devices over MQTT. For a minimal local stack, run Mosquitto MQTT broker on the same Pi. Everything stays on your LAN and is accessible without the internet.4. Add Node-RED for rules: Node-RED is my go-to for visual automations. It can subscribe to Zigbee2MQTT topics and trigger scenes, scenes are simple payloads to devices. Install Node-RED on the Pi and use the mqtt nodes to subscribe/publish.5. Pair devices: Put Zigbee2MQTT in permit join mode and factory-reset the bulbs/plugs per vendor instructions. Pairing is usually instant. Place at least one mains-powered device near the coordinator during initial setup to ensure stable routing.6. Create a “private scene”: I configured a scene that sets two bulbs to warm 1800K at 30% and turns off an overhead light. In Node-RED I made a flow triggered by a local Zigbee remote or a scheduled sunset event (Pi’s local clock). The flow publishes MQTT topics like zigbee2mqtt/livingroom_light/set with payloads for color_temp and brightness.7. Persist rules offline: Node-RED and Zigbee2MQTT run locally — if the internet goes away everything keeps working. I store config backups of Zigbee2MQTT (including the coordinator backup file) on the Pi and periodically copy them to a USB stick.Example Node-RED trigger (concept)
Simple triggers I often use:
Physical button press -> trigger Node-RED MQTT input -> publish scene payloads to multiple topicsMotion detector (local Zigbee) -> turn on lights for X minutes -> if no motion, fade outThe MQTT payloads are tiny JSON messages. For example, to set a bulb to warm dim:
{"state":"ON","brightness":76,"color_temp":370}
Resilience and best practices
Backup the coordinator: Zigbee2MQTT provides a backup of your coordinator (the non-replaceable network key and pairing data). Export it regularly and store offline.Mesh planning: Put mains-powered routers every 5–10 meters in typical home layouts. Bulbs in lamps and plugs in outlets act as repeaters — use them.Power backup: A tiny UPS or a high-quality power bank that can pass-through charge keeps the system alive during brief outages. For longer uptime, a 20,000 mAh bank will keep a Pi+stick running for many hours.Security: Keep SSH closed to the internet; use strong local passwords. Disable remote add-ons that phone home. If you need remote access, set up a secure VPN rather than exposing ports.Things that surprised me
Latency is ridiculously low compared with cloud-based systems — the lights respond in under 200 ms. The second surprise was how robust the mesh becomes once a few routers are in place: battery sensors that initially missed messages became rock-solid after adding one smart plug near them.
Finally, the setup is shockingly compact: a Pi Zero 2 W, a CC2652 USB stick, and a small power bank give you a private, portable smart lighting hub you can move between houses without flipping a single cloud switch.
If you want, I can publish a concise checklist for buying the exact models I used (links, USB stick firmware, Node-RED flow export) or walk you through flashing Zigbee2MQTT on a Pi step-by-step.