I’ve installed more than a handful of pocketable, battery-powered cameras around friends’ apartments and my own temporary studios, and I’ve learned that the best ones are the least visible and the most reliable. If you want quick coverage without drilling holes, running power, or wiring up a whole smart-home system, a compact battery camera can be the perfect option. Below I walk you through how to choose a discreet unit and how to set it up in minutes—practical tips I use when I’m testing gear for Usbzone Co.
Why choose a battery-powered camera?
Battery-powered cameras give you flexibility: place them anywhere with Wi‑Fi, mount them temporarily in a rental, or move them between rooms. They’re also great for covering areas where wiring is impractical (sheds, garages, or short-term event spaces). The trade-offs are battery life, sometimes slightly reduced continuous recording, and occasional cloud-subscription nudges. Still, for quick, low-impact security, they’re hard to beat.
Key features to look for before buying
Start by prioritising the features that matter to you—don’t chase specs that look good on paper but won’t affect your daily life.
Battery life: Look for realistic ratings. Cameras like Arlo Pro Series and Eufy battery models often advertise months of standby, but real-world use with motion alerts typically lasts weeks. If you want months between charges, choose units with efficient motion-triggered recording or solar panel support.Motion detection and activity zones: Adjustable zones reduce false alarms. I always test how finely I can tune these—trees in the background or busy streets can otherwise flood you with alerts.Video quality and night vision: 1080p is enough for most uses; 2K is a nice upgrade if you need clearer facial detail. Check low-light performance and whether IR LEDs are discreet (visible red glow can be annoying).Storage options: Local storage (microSD or built-in) avoids subscription fees; cloud storage is convenient but often costs monthly. Some brands like Eufy focus on local-first solutions, while Arlo and Ring push cloud plans.Mounting accessories: Magnetic mounts, adhesive bases, and quick-release brackets let you reposition the camera fast. If you rent, choose non-damaging mounts.Connectivity: Wi‑Fi is standard; some cameras also support 4G or battery models with optional cellular backup if you need off-grid reliability.Smart-home integration: If you use Alexa, Google Home, or Apple HomeKit, check compatibility. HomeKit Secure Video support can be a privacy plus for iCloud users.Picking a discreet model I trust
Over time I’ve narrowed my go-to picks for discreetness and ease of use:
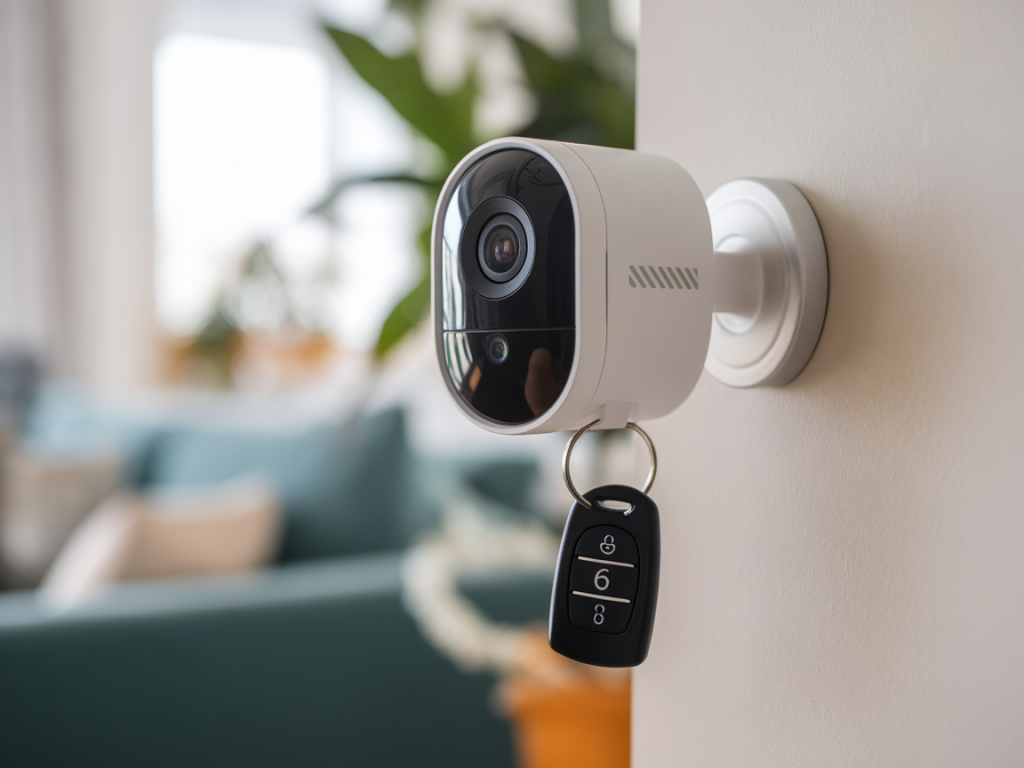
Eufy Cam 2C/2 Pro: Great for local storage, solid battery life, and minimal subscription pressure. Compact, weatherproof, and with good motion control.Arlo Pro 4: Excellent image quality and range; more of an investment and often tied to cloud plans, but very reliable and easy to install.Blink Outdoor: Super affordable and simple; battery life can be excellent if you tweak motion settings. Limited features compared to the others but very discreet.Wyze Cam (Battery): Small size, budget-friendly, and full of features for the price. Local storage is available and the app is easy to use.Prep checklist before installation
Save time by preparing these things first:
Charge the camera fully (most ship partially charged).Install the app and create an account—do this while your phone is near the Wi‑Fi network you’ll use.Update your Wi‑Fi password and know your network name (SSID). For 2.4 GHz-only devices, make sure your router is broadcasting that band.Decide on storage: insert a microSD or sign up for cloud before the first deployment if needed.Gather mounting gear: adhesive pads, magnetic mounts, small screwdriver, and a small level if you care about framing.Quick step-by-step: install in under 15 minutes
Here’s the fast install workflow I use for most battery cameras. It’s designed to be non-technical and reversible for renters.
1. Open the app and add the device: Follow the on-screen pairing steps. Most cameras use QR codes or Bluetooth for first setup, then switch to Wi‑Fi. Keep the camera close to your router during setup to avoid timeouts.2. Set motion sensitivity and activity zones: This reduces false alerts immediately. I usually start with medium sensitivity and create a narrow activity zone that excludes sidewalks and trees.3. Mount test position at eye level: For quick testing, hold the camera where you plan to mount and trigger motion to verify angle and coverage. Adjust until faces are clear and near-field details are readable.4. Attach mount using adhesive or screws: If you use adhesive, clean the surface first with alcohol. For temporary setups, a small Command-style bracket or magnetic mount is ideal.5. Fine tune notifications: Decide how and when you want alerts—immediate push, email summaries, or only when you’re away. Set quiet hours if you share a space and don’t want late-night alerts.6. Test night view and battery drain: Leave the camera overnight and check footage in the morning to confirm IR and low-light behaviour. Note the battery percentage drop to gauge real-world life.Privacy, legal and practical considerations
Installing a camera quickly doesn’t remove responsibility. Be mindful of privacy and legal limits:
Never point a camera into a neighbour’s private spaces (windows, balconies). In many places that’s illegal.Inform roommates or housemates—transparency avoids conflicts. For rentals, check your lease for restrictions.Secure your camera account with a strong password and enable two-factor authentication (2FA) if available.Keep firmware updated—manufacturers regularly patch security issues.Optimising battery life without sacrificing security
A few tweaks make a big difference:
Use motion-only recording and shorter clip lengths.Restrict alerts to important times (e.g., when you’re away) using geofencing or “home/away” modes.Turn off continuous live streaming; use it only when actively checking the camera.Consider a small solar panel if the camera is outdoors and receives some sunlight—Arlo and others sell compatible panels that can make battery cameras effectively permanent.When to choose local storage over cloud
Local storage (microSD or hub-based) is my pick when I want no monthly fees and faster access to recorded clips. If you need long-term archiving, multi-user access, or advanced AI detection (recognising packages or people), cloud services can be worth the subscription. Evaluate cost vs. convenience—some companies bundle smart-home features with their cloud plans, which might be useful if you already use that ecosystem.
| Use case | Recommended storage |
| Short-term monitoring, privacy-sensitive | Local microSD |
| Continuous multi-day archive, shared access | Cloud subscription |
| Hybrid: immediate local plus cloud backup | Local storage + optional cloud plan |
If you want, tell me the room or area you’re thinking of covering and the cameras you already have in mind—I’ll suggest the best discreet placement and a quick setup checklist tailored to that space.