I shoot a lot of low-light photos with compact gear and phones, and over the years I’ve learned that getting sharper night shots is less about hero hardware and more about small, repeatable adjustments. In this how-to I’ll walk you through the micro-optimizations I use on phones like the iPhone, Pixel, and a few high-end Android devices to squeeze out sharper images when light gets scarce.
Start with a realistic mindset
Phone sensors are tiny compared with dedicated camera bodies. That means noise, limited dynamic range, and fewer pixels of detail in low light. But sharpness isn’t only about resolution — it’s about minimizing blur from motion (yours and the scene), getting focus right, and making smart trade-offs in processing. I focus on controlling the variables I can control: stability, exposure time, ISO, focus, and processing choices.
Stabilize — the single biggest win
Even small hand movements translate to blur when shutter speeds go below ~1/30s. Stabilization should be your first optimization:
Prefer manual/exposure controls over Auto
Auto modes often push ISO high to maintain fast shutter speeds, which increases noise. In low light I switch to Manual/Pro mode (or use a third-party app like Halide, ProCam, or Open Camera) and set the parameters deliberately:
Use RAW capture for editing latitude
RAW stores more tonal information and gives you more flexibility when denoising and sharpening in post. I shoot RAW when I know I’ll edit — especially for tricky scenes with mixed lighting. On iPhone use Apple ProRAW (iPhone 12 Pro and later), on Android use the native RAW option or Lightroom Mobile’s RAW capture. Note: RAW files are larger and may disable some in-phone noise-reduction algorithms, but you’ll get better results with controlled editing.
Balance shutter speed and ISO with practical examples
Here are typical settings I use depending on stabilization and scene. These are starting points — adjust for your phone and taste.
| Situation | Stabilization | Shutter | ISO | Notes |
|---|---|---|---|---|
| Street handheld | Handheld, braced | 1/30 – 1/60s | 800 – 1600 | Raise shutter to freeze people; expect some noise |
| Static scene | Tripod | 1s – 5s | 50 – 200 | Low ISO, long exposure for clean detail |
| Low-light portrait | Handheld with OIS | 1/60s – 1/125s | 400 – 800 | Faster shutter to avoid motion blur; use light sources to compensate |
Lock focus and use focus peaking if available
Nothing kills perceived sharpness faster than missed focus. In Auto, phones sometimes focus on the wrong plane in complex low-light scenes. I do the following:
Choose the right metering and exposure compensation
Phones' metering can be influenced by bright lights (lampposts, neon) and push the exposure down, making the subject too dark. I often use spot metering on my subject, then dial exposure compensation (+/-) to get the brightness I want. In Pro mode you can set a longer shutter and lower ISO then fine-tune exposure compensation to avoid blown highlights.
Use Night Mode and computational tricks wisely
Night modes (Apple Night mode, Google Night Sight, Samsung Night) use multi-frame stacking to increase detail and reduce noise. They’re excellent, but they make trade-offs: moving subjects can blur, and the software may over-smooth microdetail.
Reduce camera shake with self-timer and remote triggers
Even the act of pressing the shutter can introduce blur at slow speeds. I use the 2s or 3s self-timer or a Bluetooth remote to eliminate button-press shake. It’s a cheap trick but effective.
Noise reduction and sharpening during post
A good RAW workflow fixes many issues. I use Lightroom Mobile and sometimes Snapseed for quick edits. My process:
Mind the lighting and composition
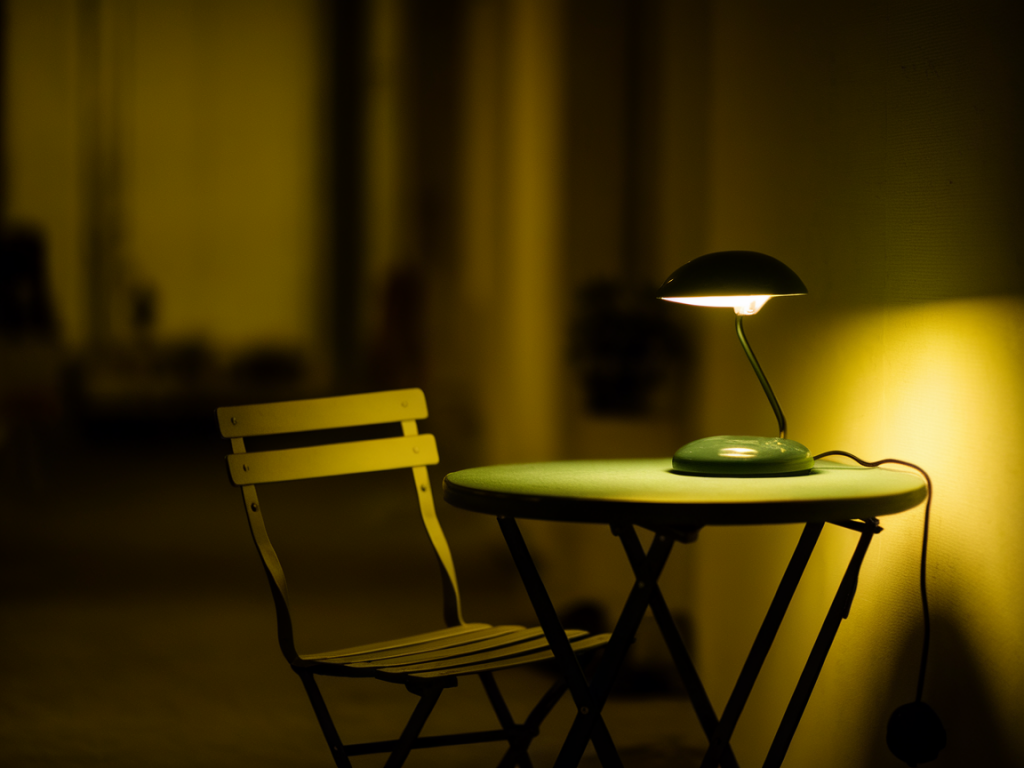
Low-light sharpness isn’t only technical. Adding a small LED fill, using reflections, or composing so bright elements illuminate nearby subjects can let you use faster shutter speeds and lower ISO. I carry a tiny clip-on LED (like the Lume Cube Clip) for portraits — it’s small but transforms what’s possible.
Practice and iterate
Take multiple frames with different settings — one slightly underexposed low-ISO long exposure, one higher-ISO fast exposure, and let computational tools choose the best. I often bracket by changing shutter and ISO and then pick the keeper in post. Over time you’ll learn how your specific phone behaves and which settings consistently yield sharp images.
If you want, tell me which phone you use and the kind of low-light shots you take (street, portraits, night landscapes) — I’ll suggest a tailored set of starting settings you can try right away.